> ## Documentation Index
> Fetch the complete documentation index at: https://vastai-80aa3a82-auto-openapi-update-8483c1e9.mintlify.site/llms.txt
> Use this file to discover all available pages before exploring further.
# Teams Quickstart
## Introduction
This quickstart guide will walk you through how to create a team, invite new team members and assign them to different roles.
## Creating the Team
There are two ways to create a team:
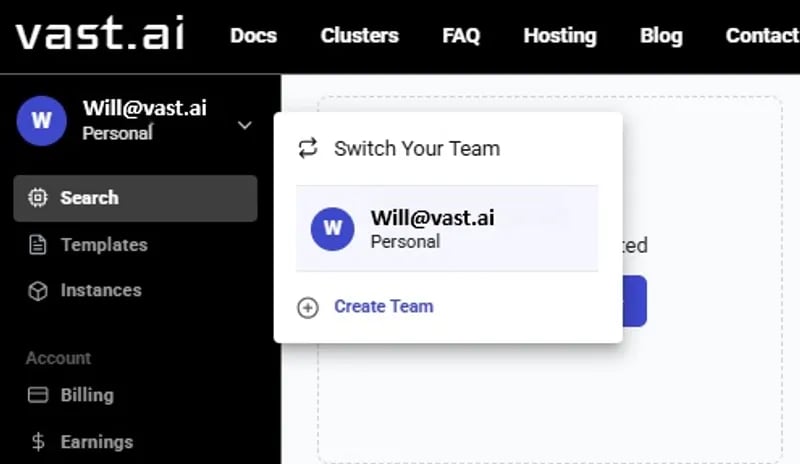
1. Click on your profile name (or email address) in the Context Switcher and then click the **Create Team** button
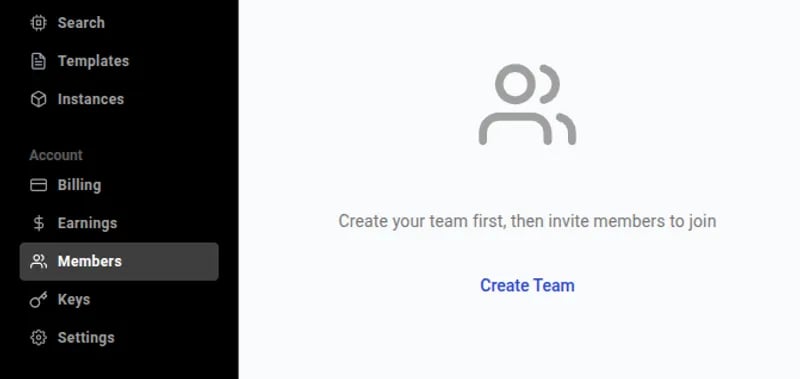
2. Or you can navigate to the **Members** section in the Sidebar and click **Create Team**
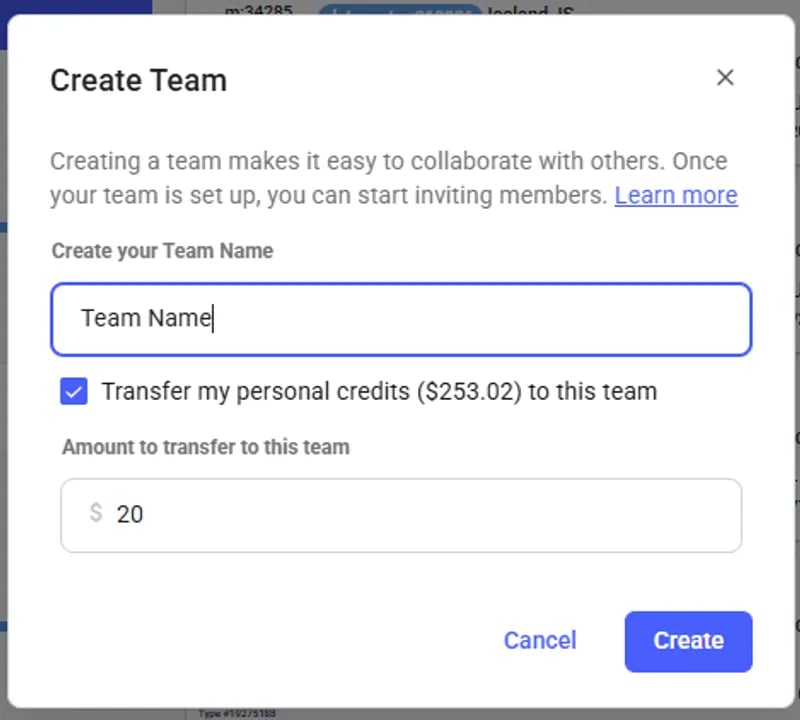
 Once there, you can create your **Team Name** and transfer some credit to your team during creation. You can also skip the credit transfer step and do it later from the [**Billing Page**](/guides/reference/billing#a6bsE).
To add credit during team creation, select **Transfer my personal credits** checkbox, enter an amount, and then click **Create**.
Once there, you can create your **Team Name** and transfer some credit to your team during creation. You can also skip the credit transfer step and do it later from the [**Billing Page**](/guides/reference/billing#a6bsE).
To add credit during team creation, select **Transfer my personal credits** checkbox, enter an amount, and then click **Create**.
 After successfully creating the team you should see your Team Name and role in the Context Switcher in the upper left corner and the Team Dashboard on the **Members** page.
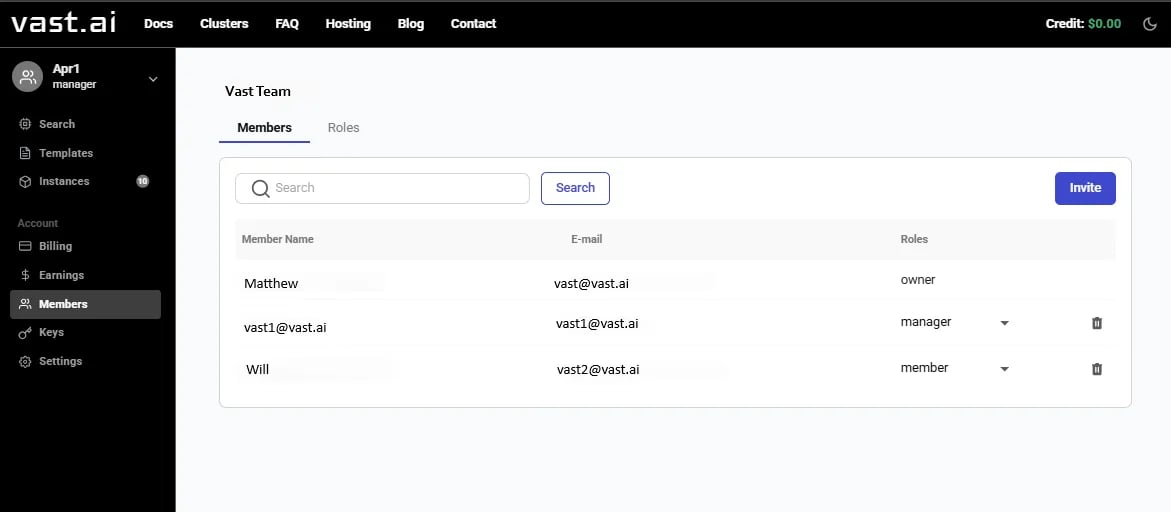
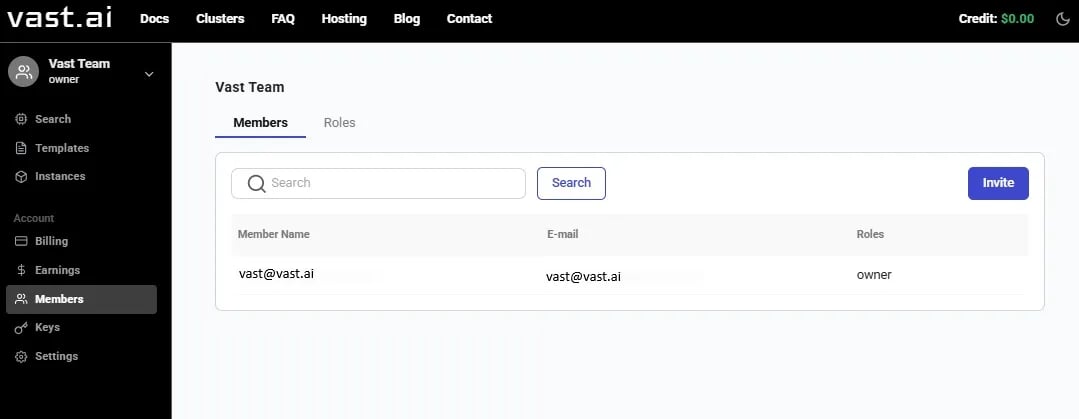 The **Members** section is the main way that team owners and managers can interact with the Teams ecosystem. From here you can invite team members, create/manage team roles, remove team members, etc.
## Managing Team Roles
Every team comes with two default roles: manager and member.
Managers have full access to team resources, while members have limited read access to most resources while still being able to rent instances. [Learn more.](/guides/teams/teams-roles)
To create a new role with your desired permissions, navigate to the **Roles** tab of the **Members** **Page**. Then you can name the role and choose the permission groups that the new role will have access to. Once you are satisfied, click **Generate** to create the new role.
The **Members** section is the main way that team owners and managers can interact with the Teams ecosystem. From here you can invite team members, create/manage team roles, remove team members, etc.
## Managing Team Roles
Every team comes with two default roles: manager and member.
Managers have full access to team resources, while members have limited read access to most resources while still being able to rent instances. [Learn more.](/guides/teams/teams-roles)
To create a new role with your desired permissions, navigate to the **Roles** tab of the **Members** **Page**. Then you can name the role and choose the permission groups that the new role will have access to. Once you are satisfied, click **Generate** to create the new role.
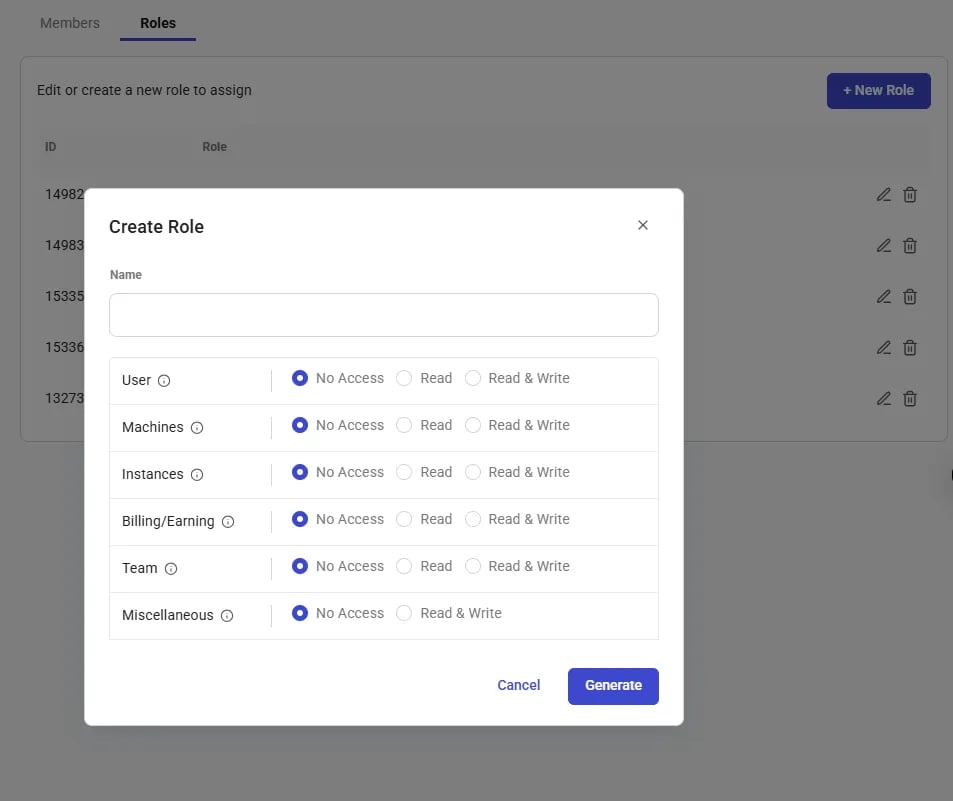 For more information on Permission Groups and what they allow access to, [click here](/api-reference/permissions).
## Inviting Team Members
To invite a team member, go to the **Members Page** and click on the **Invite** button.
This will bring up a quick popup where you can enter the email and team role for the person you want to invite. Once complete, click **Invite** to send the invitation email.
For more information on Permission Groups and what they allow access to, [click here](/api-reference/permissions).
## Inviting Team Members
To invite a team member, go to the **Members Page** and click on the **Invite** button.
This will bring up a quick popup where you can enter the email and team role for the person you want to invite. Once complete, click **Invite** to send the invitation email.
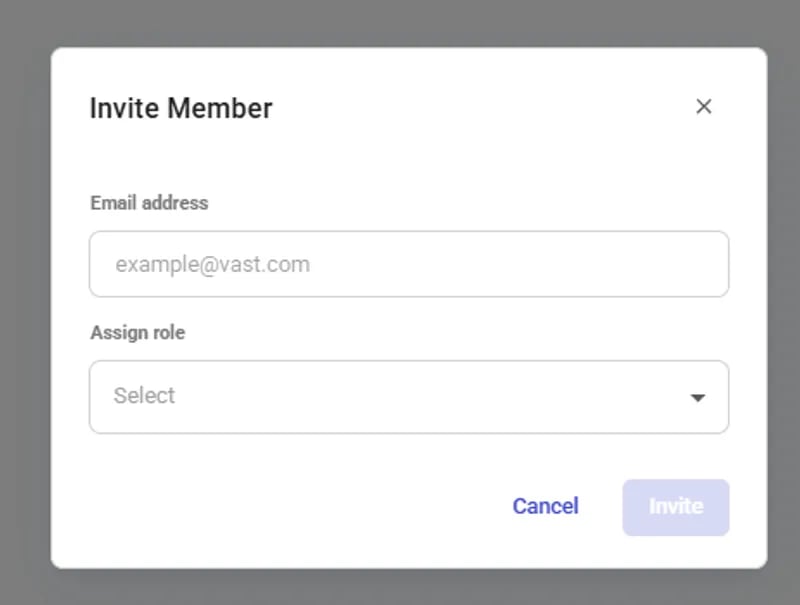 Once you send the invitation, the user should get an email asking them to join your team. Upon clicking the link in the email they will be added as a member of your team.
**Note:** if the recipient of the invitation does not have a Vast account, they will need to create one before being added to your Team.
Once the invitee has joined your team, you should see them listed in the **Members** section.
Once you send the invitation, the user should get an email asking them to join your team. Upon clicking the link in the email they will be added as a member of your team.
**Note:** if the recipient of the invitation does not have a Vast account, they will need to create one before being added to your Team.
Once the invitee has joined your team, you should see them listed in the **Members** section.
 ## Using SSH Keys with Team Instances
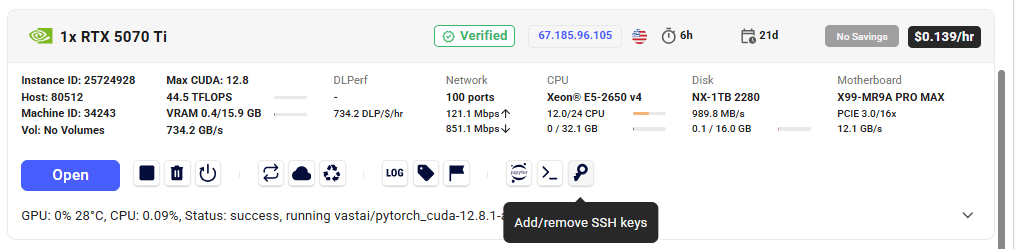
If you are part of a **team** and want to connect to a **team’s instance** using SSH, simply add your key to your individual account keys. Here’s how it works depending on the type of instance:
🔹 VM Instances
* Your SSH key **must be added to your personal account before the VM is created**.
* When the VM is launched, all SSH keys in your account are automatically included for access a team instance.
🔹 Non-VM Instances
* You can either:
* **Add your SSH key directly to the instance**, or
* **Add your key to your personal account**, in which case it will be automatically applied to the team instance as well.
## Using SSH Keys with Team Instances
If you are part of a **team** and want to connect to a **team’s instance** using SSH, simply add your key to your individual account keys. Here’s how it works depending on the type of instance:
🔹 VM Instances
* Your SSH key **must be added to your personal account before the VM is created**.
* When the VM is launched, all SSH keys in your account are automatically included for access a team instance.
🔹 Non-VM Instances
* You can either:
* **Add your SSH key directly to the instance**, or
* **Add your key to your personal account**, in which case it will be automatically applied to the team instance as well.
 ## Conclusion
You have now successfully created a team!
From this point, you can add any Billing information the same way as a regular account and invite as many of your teammates as you like so you can collaborate together with ease.
## Conclusion
You have now successfully created a team!
From this point, you can add any Billing information the same way as a regular account and invite as many of your teammates as you like so you can collaborate together with ease.